Welcome to Your Project Adventure! 🚀
The project page is your trusty sidekick, ready to guide you through every Jira project, whether it's team-managed or company-managed. It's like having a map for your project journey, ensuring you never lose your way!
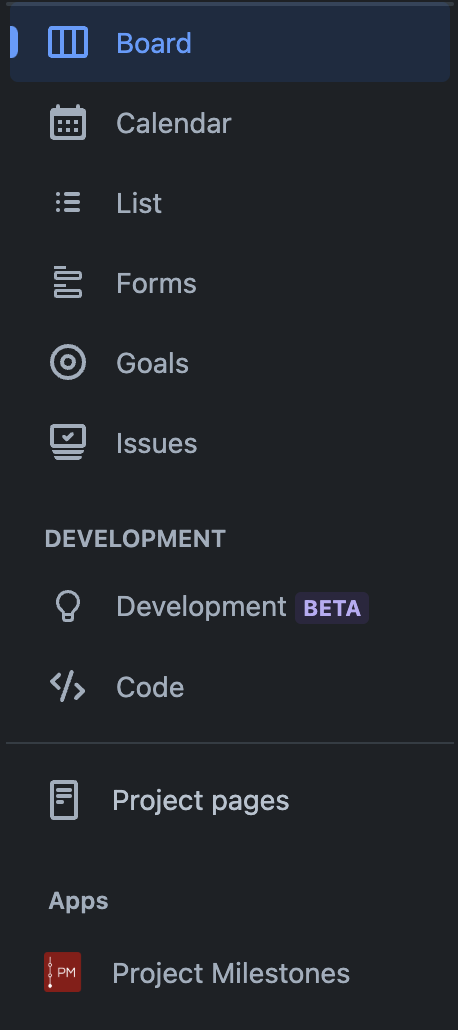
Finding Your Milestone Treasure Map 🗺️
Look to the left sidebar to discover your project's milestone page. It's like finding a hidden treasure chest! When you open it for the first time, it's a blank slate, ready for you to fill with your project's milestones.
Project Header: Your Project's Crown 👑
At the top, you'll find the project header, showcasing the project's name and its start and completion dates. Those dates can be edited by project administrators in the project settings.
Create Your Milestone Masterpieces 🎨
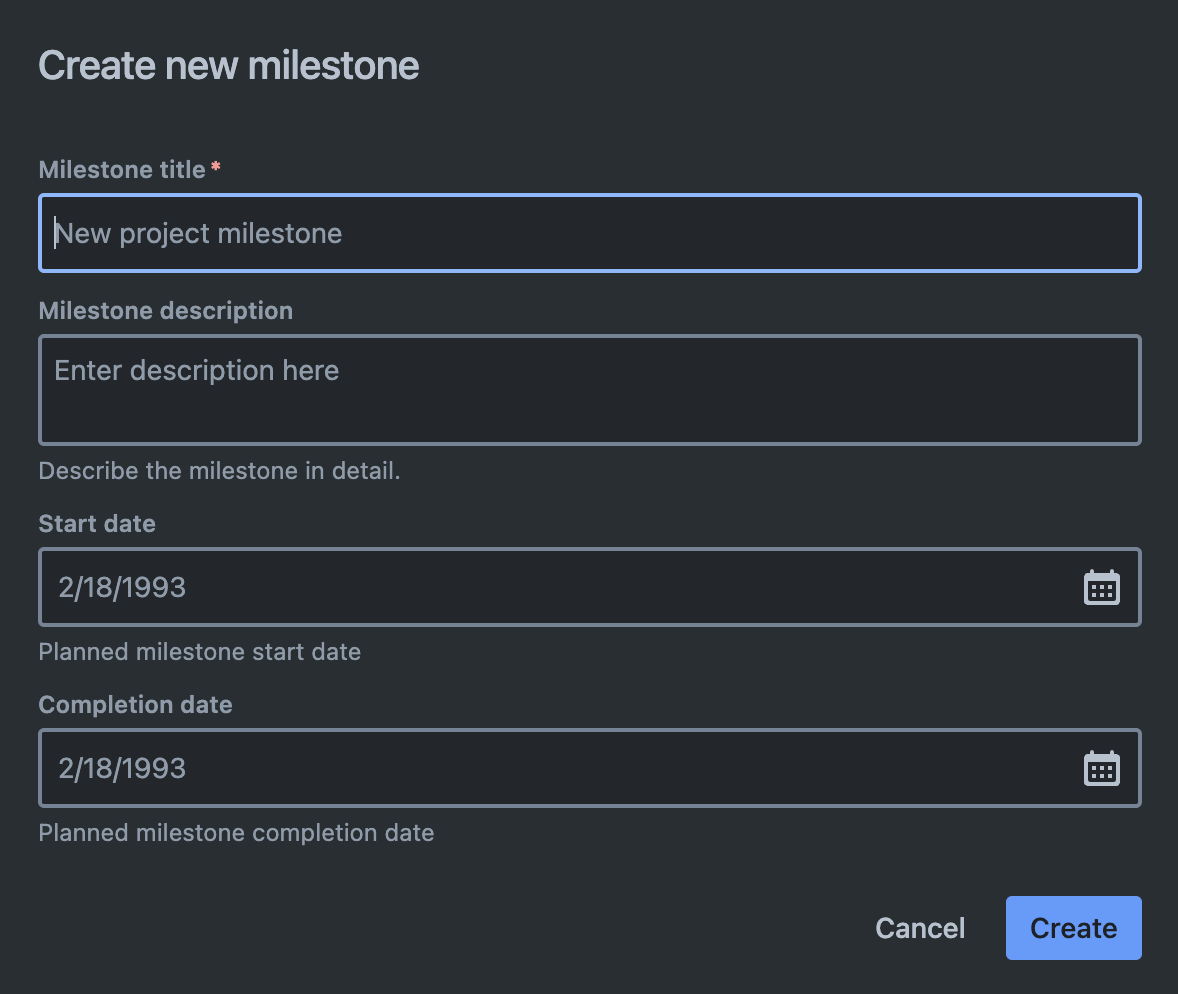
Ready to add some milestones? Click the "Create Milestone" button and let your creativity flow! Fill in the title, description, start date, and completion date. Watch as your milestones come to life in the list below.
Milestone List: Your Project's Hall of Fame 🏆
Default View: The Classic Gallery
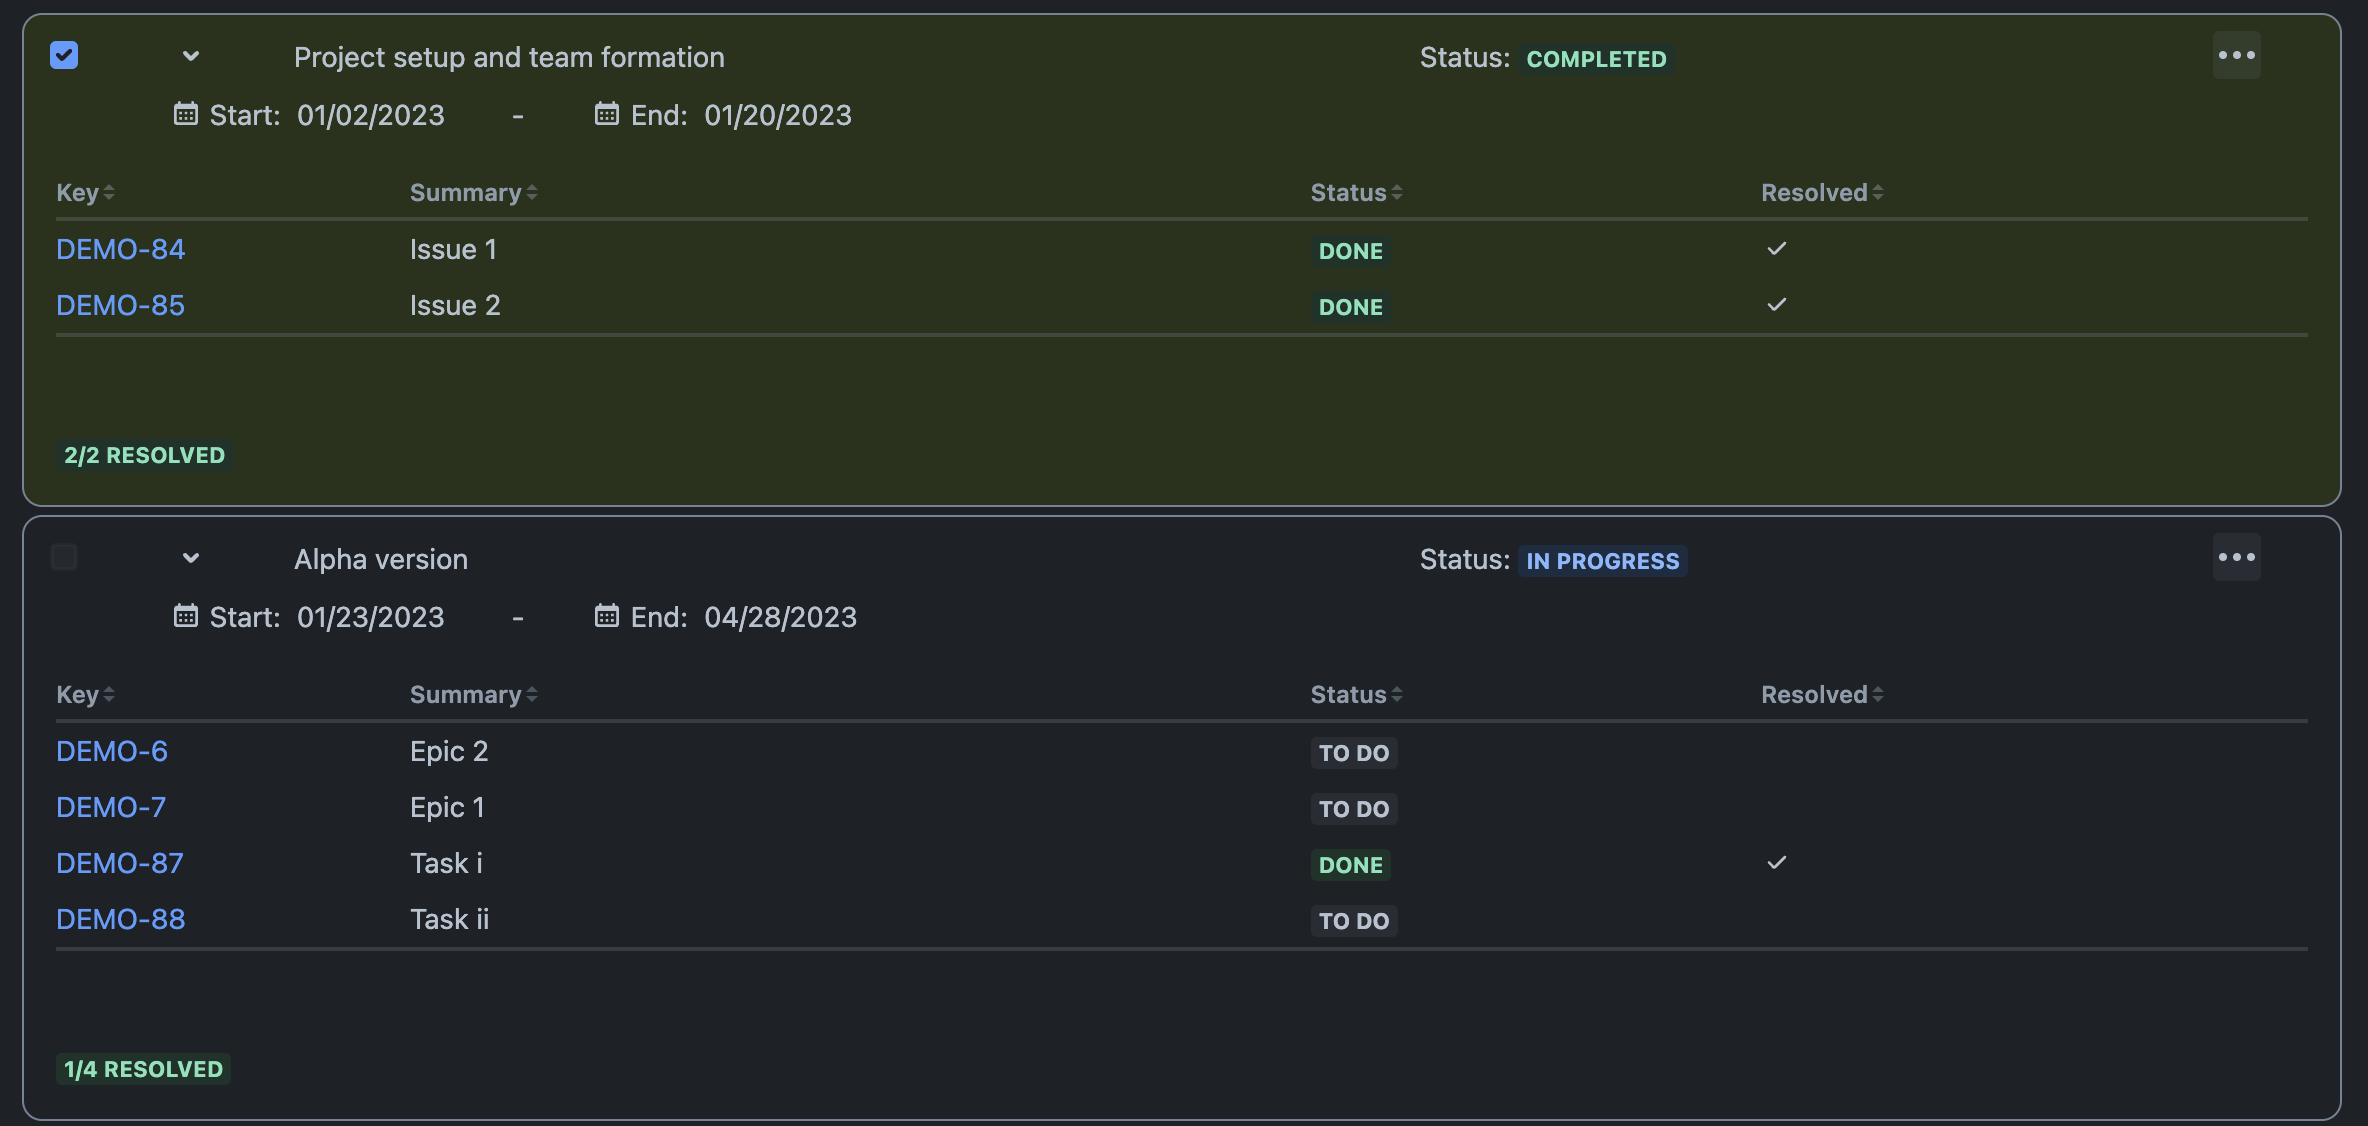
Your milestones are sorted by completion date, like a well-organized art gallery. Check off completed milestones to see them turn green, a sign of your project's progress!
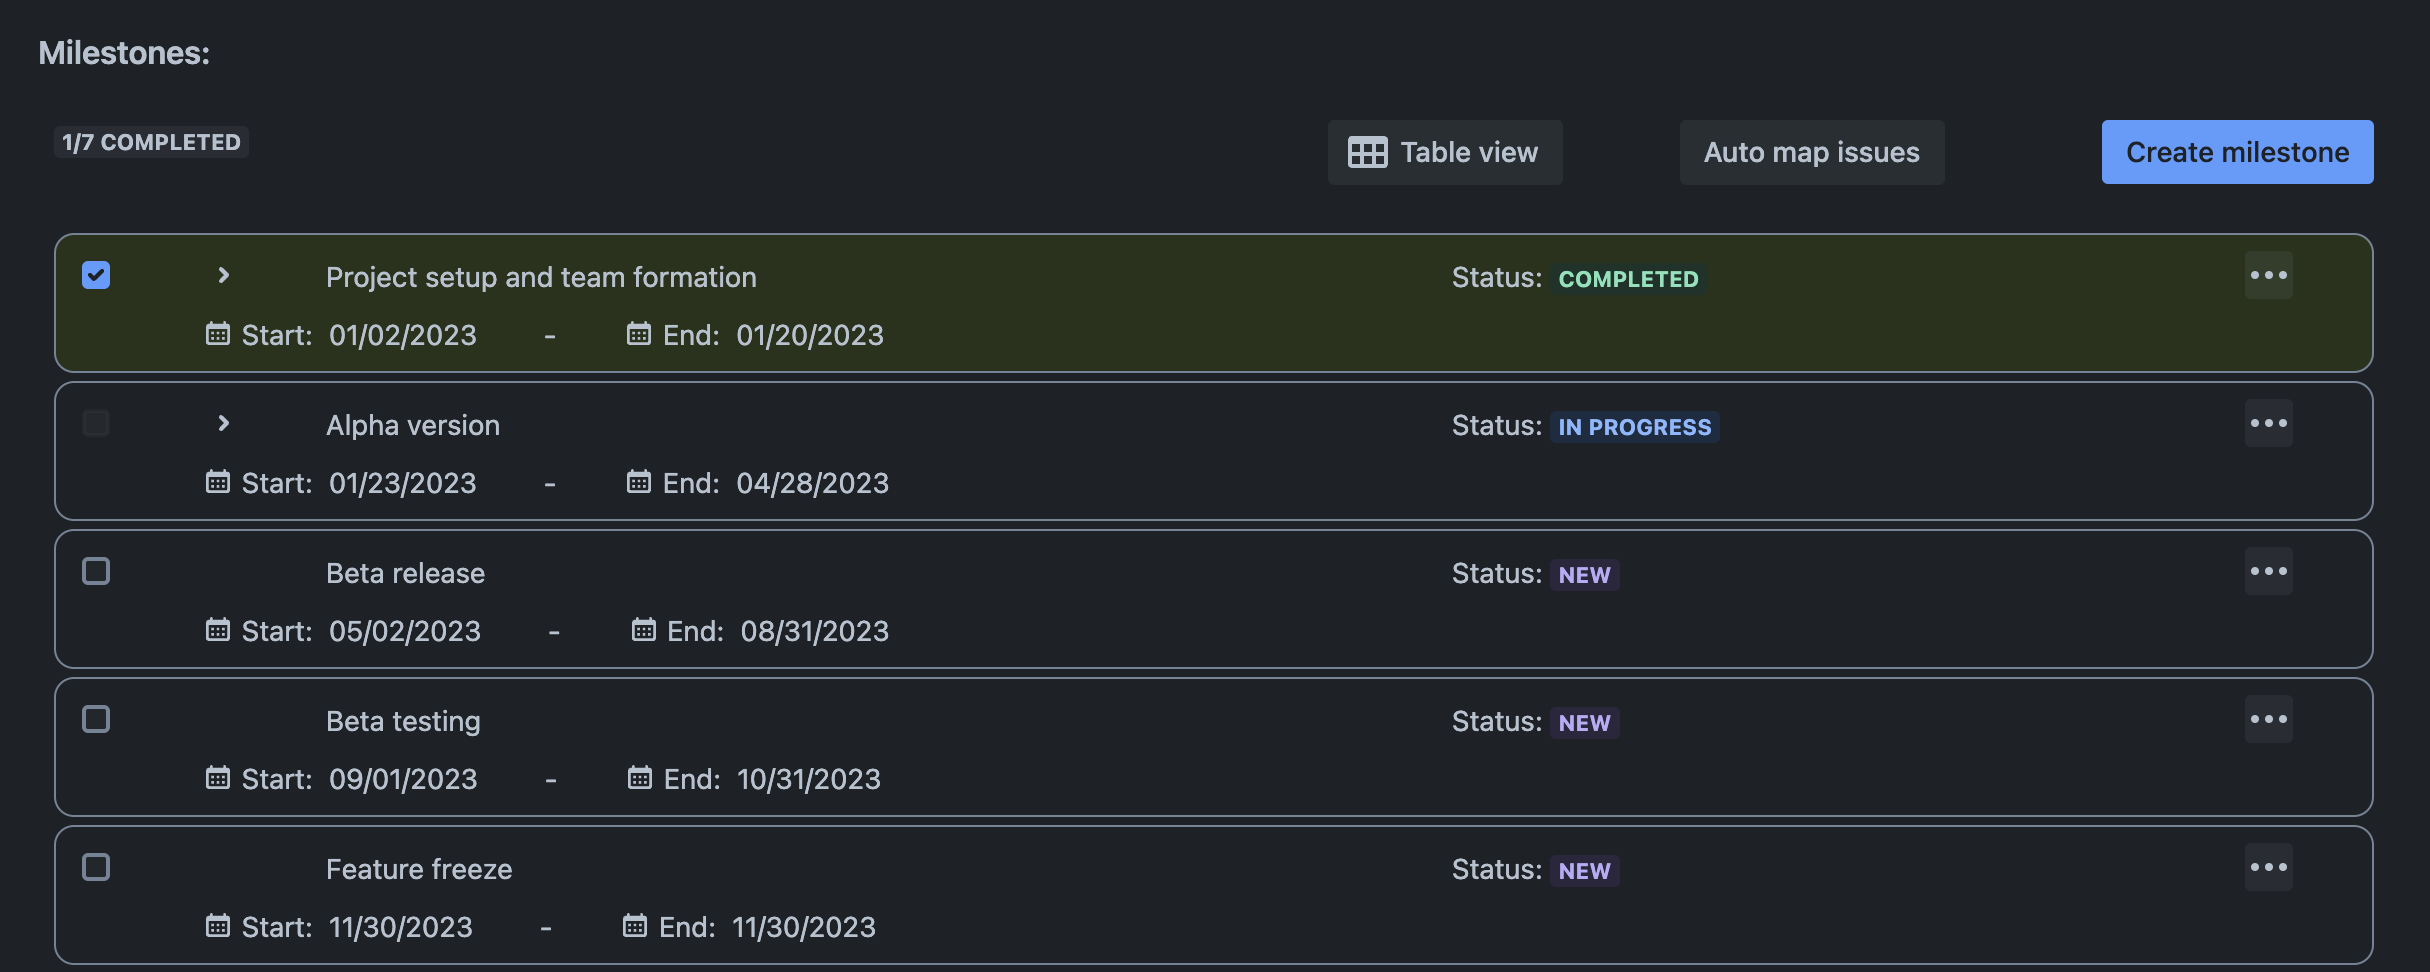
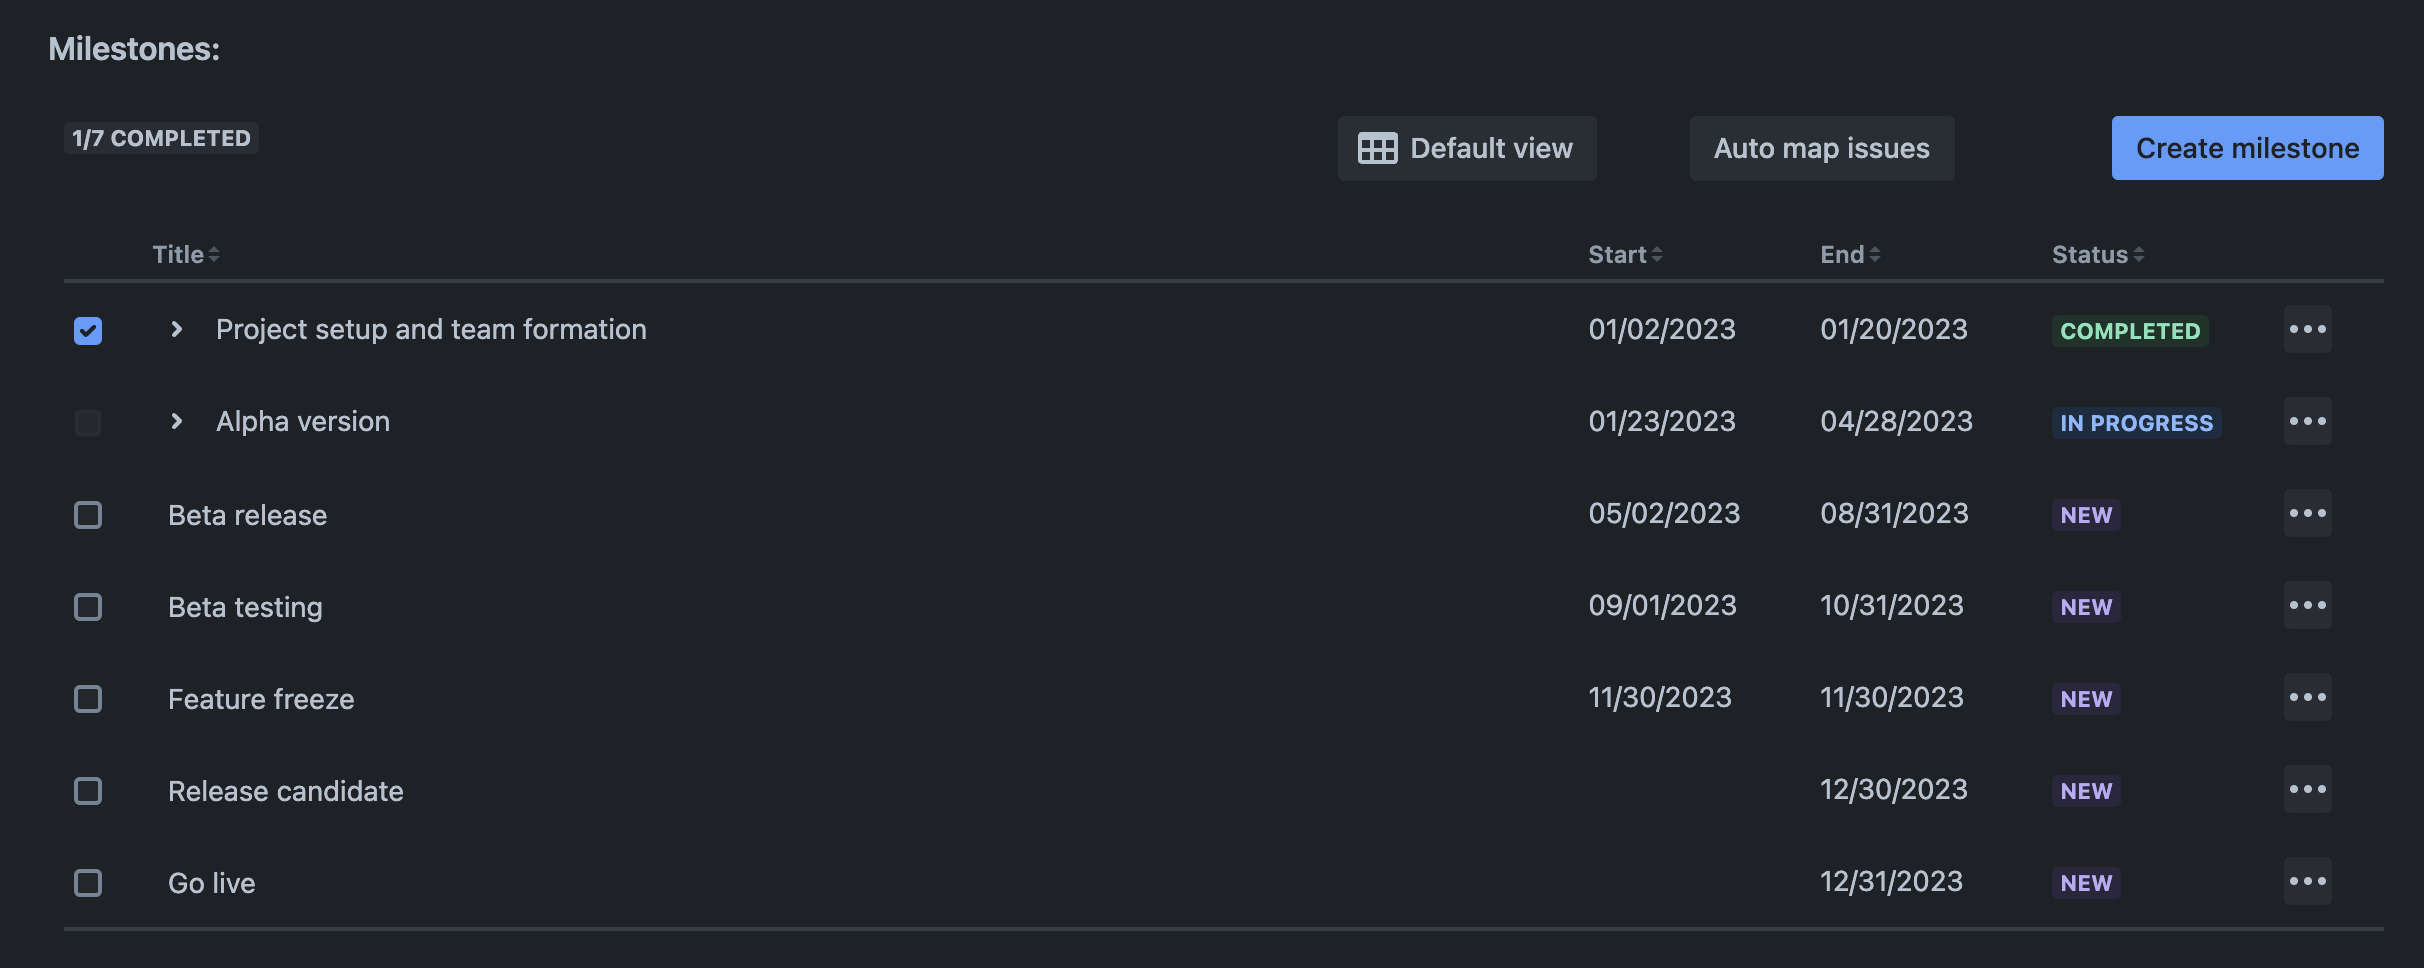
Table View: The Interactive Exhibit
Switch to table view for a more interactive experience. Sort and drag milestones to your heart's content, but remember, this is just for display—like rearranging your favorite collectibles!
Milestone Status: The Progress Parade 🎉
Each milestone has a status, from "New" to "Completed." Keep an eye on these to track your project's progress and celebrate each achievement!
The following status values are possible:
-
New Milestone created and no issue mapped to it
-
In progress Issues are mapped to the milestone and not all of them are resolved
-
ready Mapped issues are all resolved, meaning the milestone is ready to be completed
-
Completed Milestone has been marked as completed
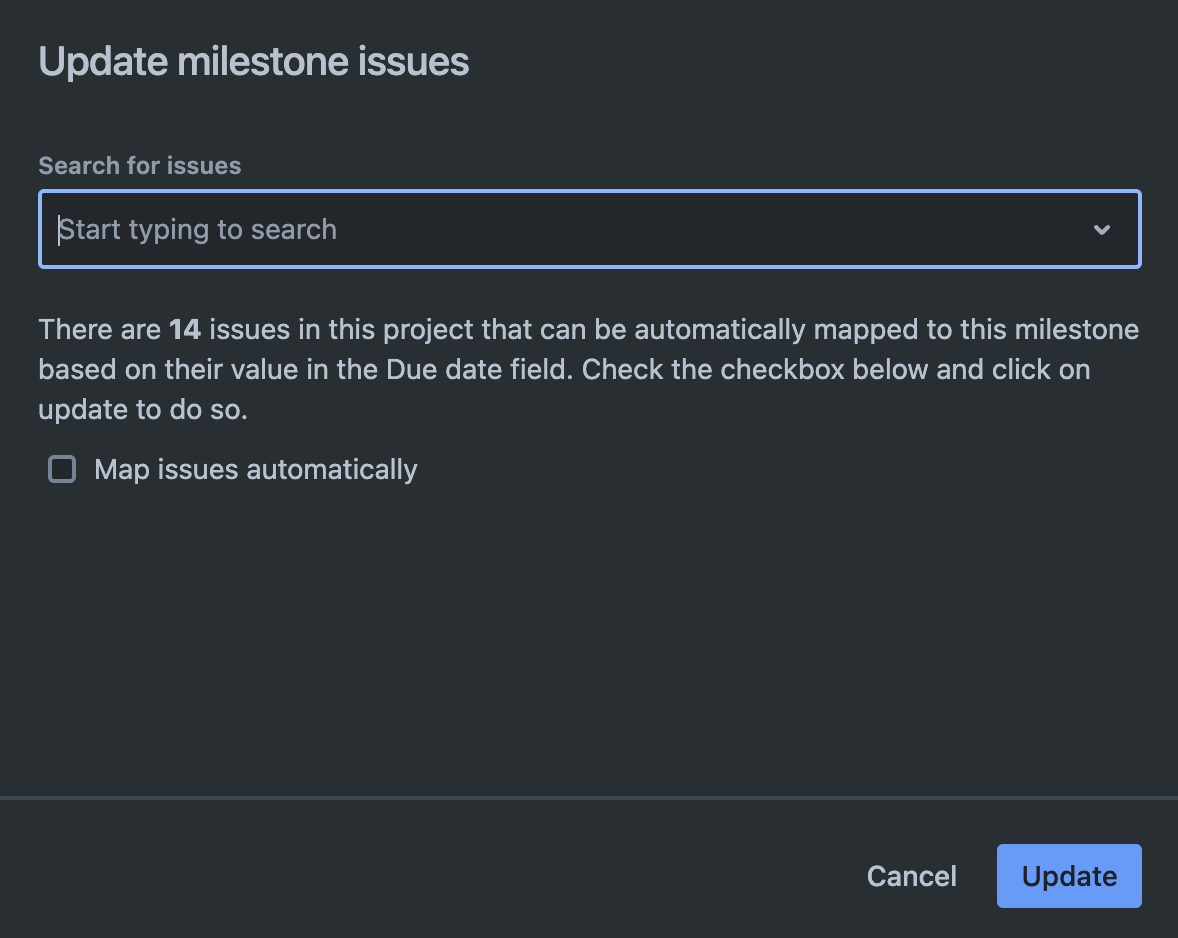
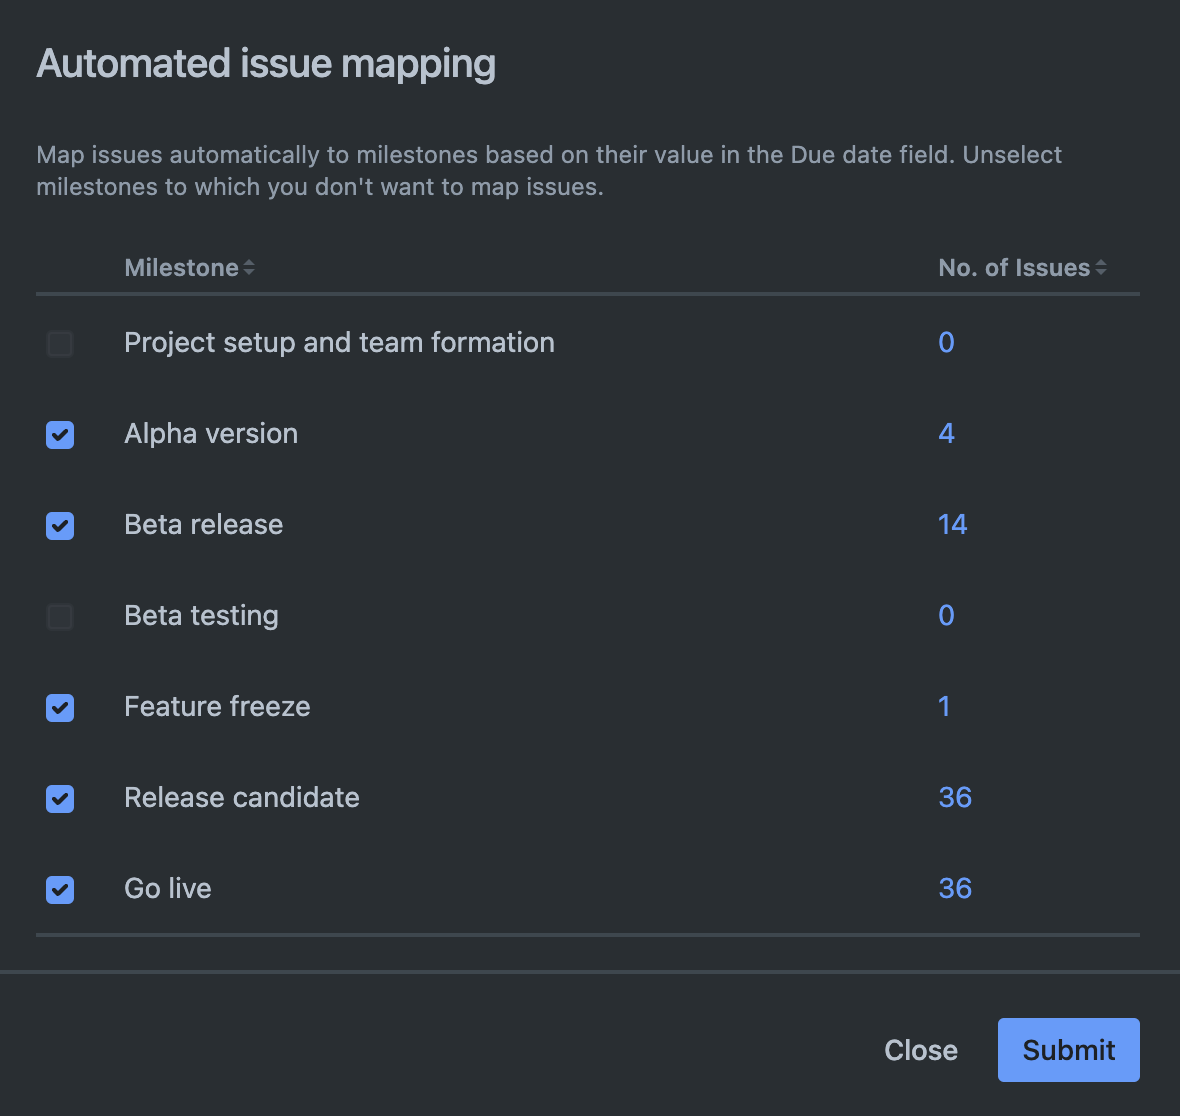
Mapping Issues: The Puzzle Solver 🧩
Map issues to milestones with ease. Whether you do it manually or automatically, it's like solving a puzzle that brings your project picture together.