Getting started
This page is intended for Jira system administrators. It provides guidance on installing the application and outlines the necessary steps for the initial configuration.
Installing Project Milestones for Jira in your Jira Data Center instance
Access Jira Marketplace: Go to Manage apps -> Find new apps in the Jira system administration and search for "Project Milestones for Jira."
Select the App: Locate the app and choose "Free trial"
Install the App: Follow the installation prompts to install the app within your Jira Data Center instance.
Post-Installation Configuration
For the app to work correctly, it is necessary to complete some initial configuration steps. Especially when you plan to map issues to milestones, the milestone custom field needs to be set up after installation of the app.
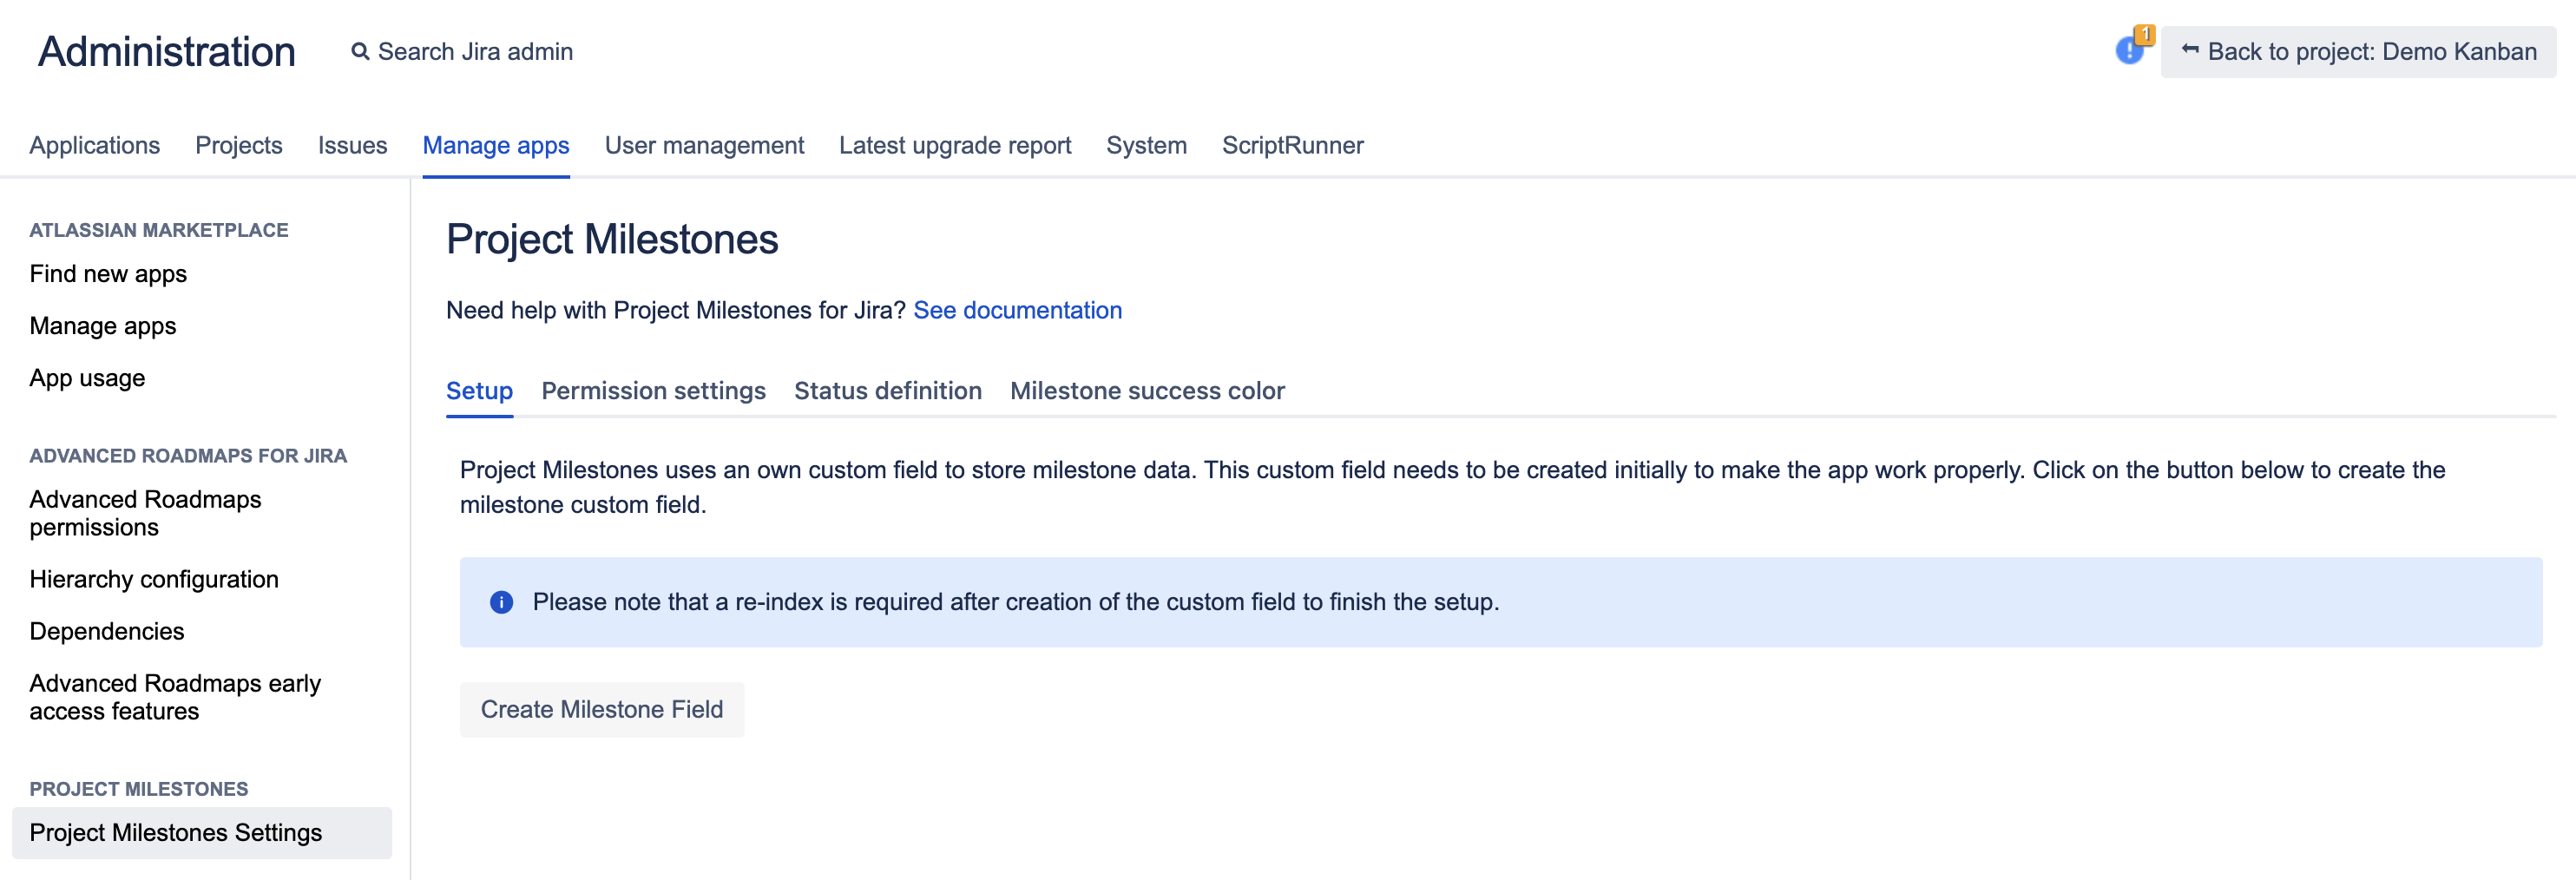
Upon installing the app, the first step is to set up the milestone custom field. This can be achieved either manually by navigating to 'Issues' → 'Custom Fields', or automatically through the app settings. To do so, access 'Manage Apps' → 'Project Milestone Settings'. If no milestone custom field exists, you will see a setup tab with a button to create the field.

Setup tab in Project Milestone settings
If a milestone custom field is present in your instance, this tab will no longer be displayed.
Kindly be informed that creating a milestone custom field in Jira necessitates a re-index of your Jira issues. You have the option to perform either a background or foreground reindex based on your preference.
To ensure that all issues can be properly mapped to milestones, it is essential to have the milestone custom field displayed on edit and view screens of the relevant issue type within the project.
If the milestone custom field isn’t on the appropriate screens, users will see an error message when trying to map an issue to a project milestone.
