

Please note: Each instance has unique endpoints, which can be retrieved on the user absence planner settings page in the Jira administration by system administrators. The email address of the user you want to manage absences for is always required as parameter.
Authentication
When accessing any of the REST API endpoints mentioned below, users must authenticate themselves using the email associated with their Atlassian account and an app API token obtainable either from the app's administration, or from the api token tab on the User Absence Planner global page.
To generate your token as Jira administrator, navigate to Marketplace Apps → User Absence Planner Settings (left sidebar) → API token tab.
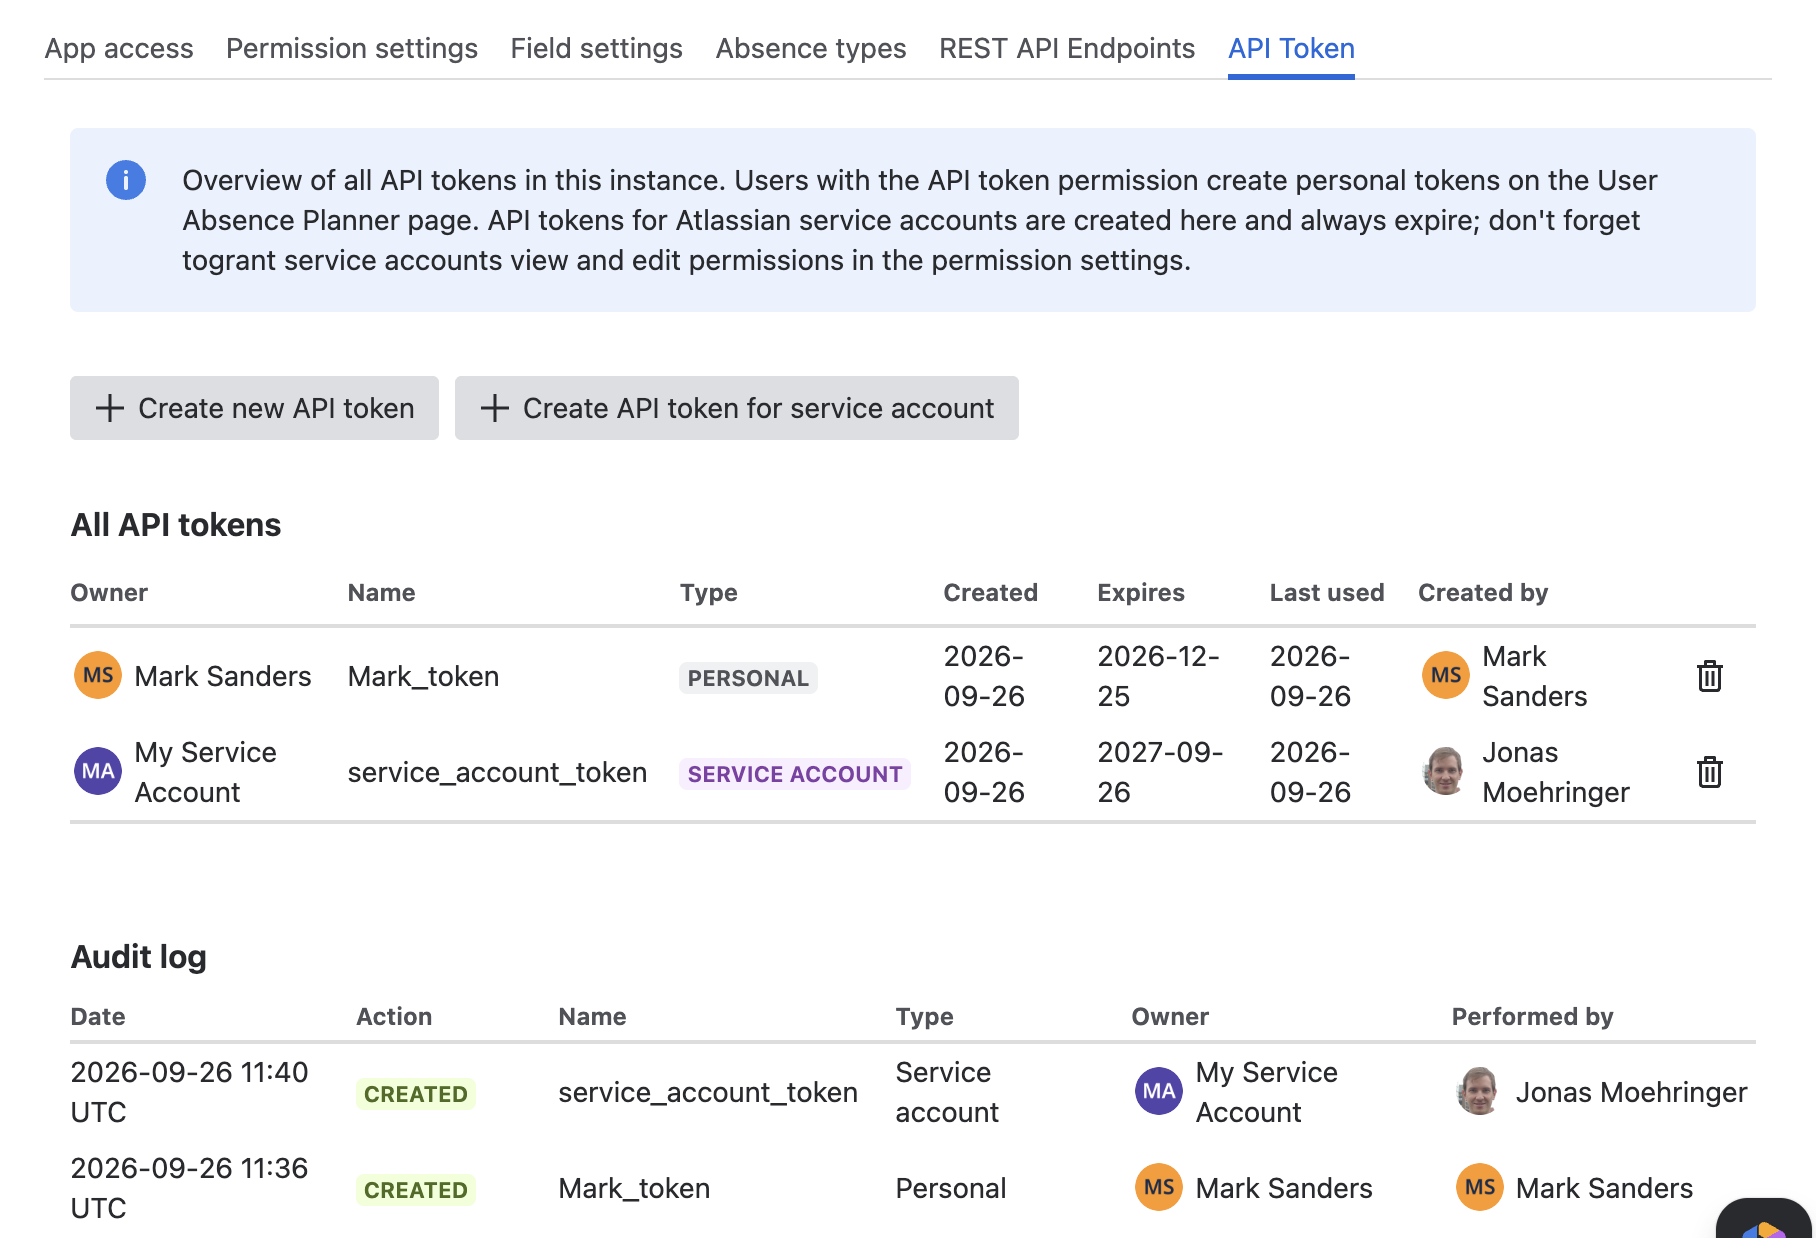
Personal API token
Click Create new API token to generate a token for your admin Jira account. In the dialog, enter a name and choose an expiration: 30, 90, 180, 365 days, or never.
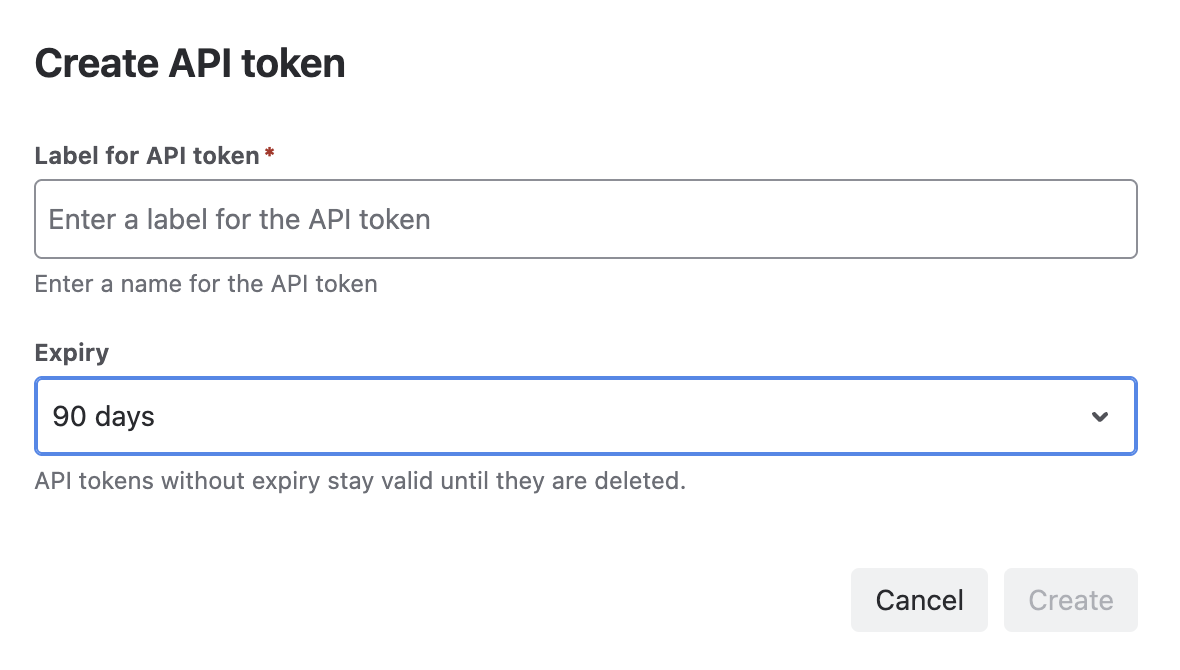
Please remember that your generated token is only visible during the creation process in the modal dialog. It is crucial to copy it to your clipboard and securely store it. Once generated, the token cannot be displayed again. In case you misplace your token and fail to save it, you will need to delete the current token and generate a new one.
API token for Service Accounts
For Atlassian service accounts, create API tokens from the API token tab using its button. This is useful when you use service accounts for external integrations and interfaces.
Service accounts in your instance are fetched regularly. They may not be available immediately after app installation or update.
You can also fetch service accounts manually using the Refresh now button in the token creation dialog.
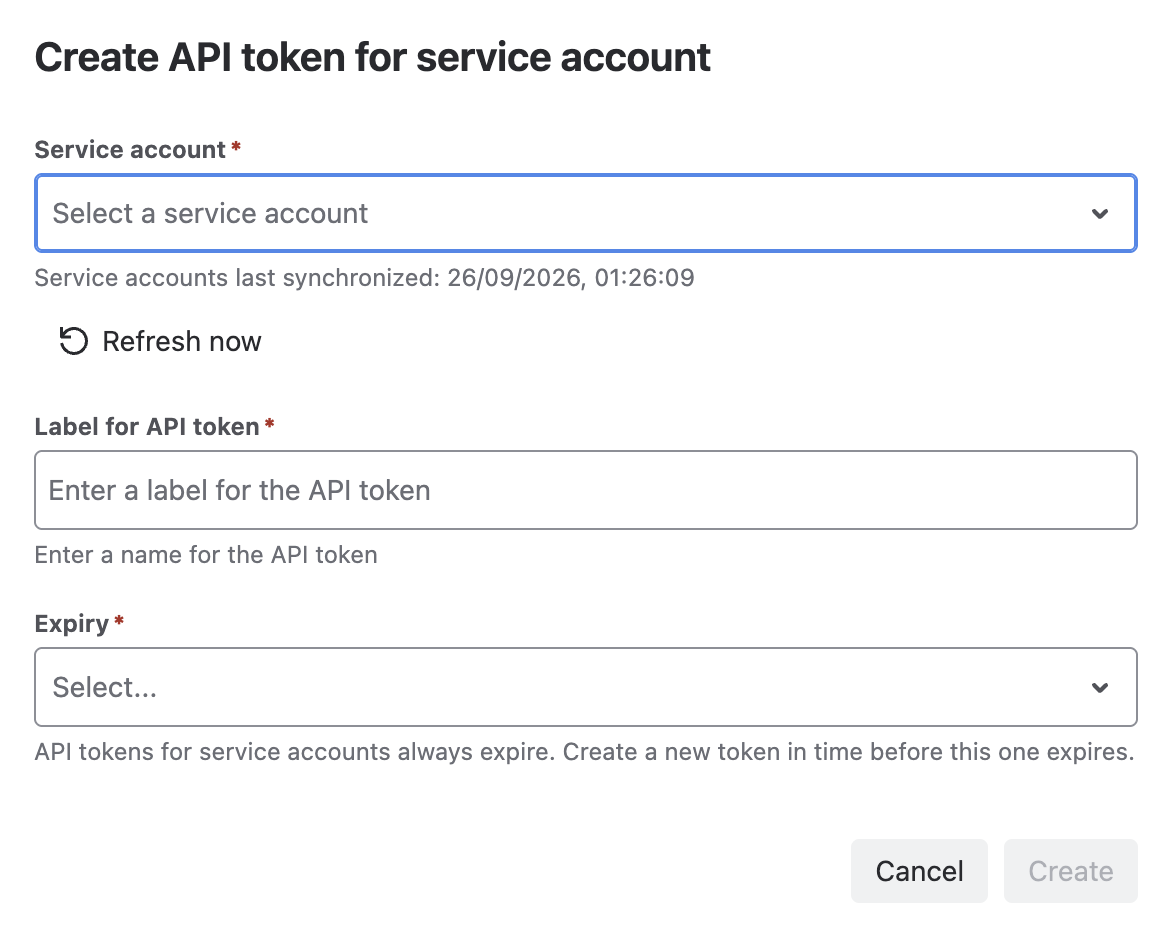
API tokens for service accounts always expire; you cannot set them to never expire.
Please remember to grant permission to edit/view absences for other users to service accounts if you want to use them for external system integration.
If non-admin users receive permission to use the API, they will also see an API token tab on the global User Absence Planner page.
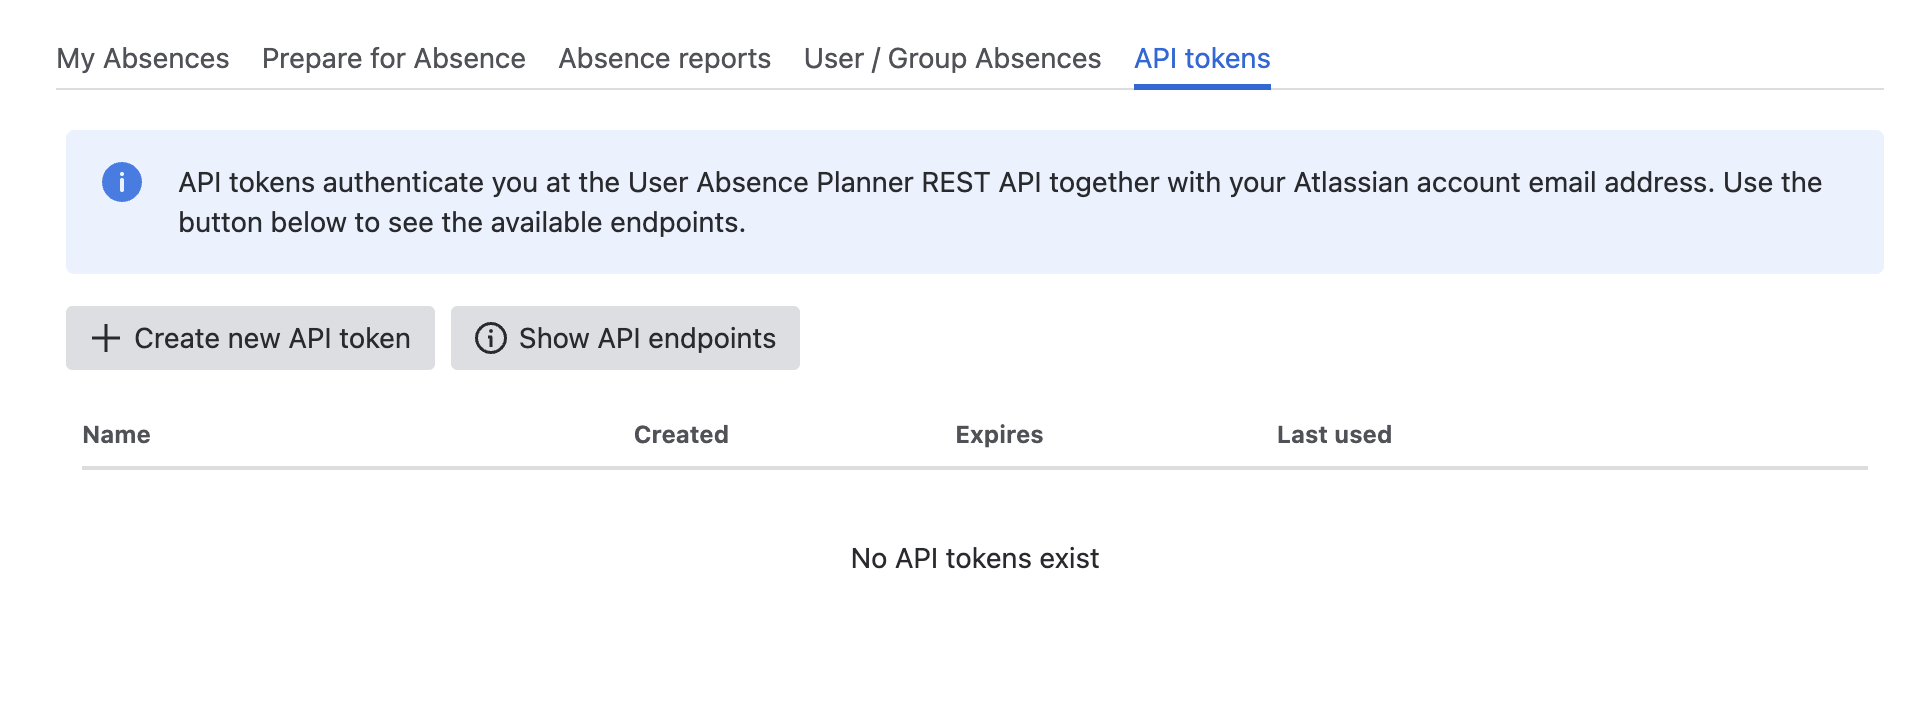
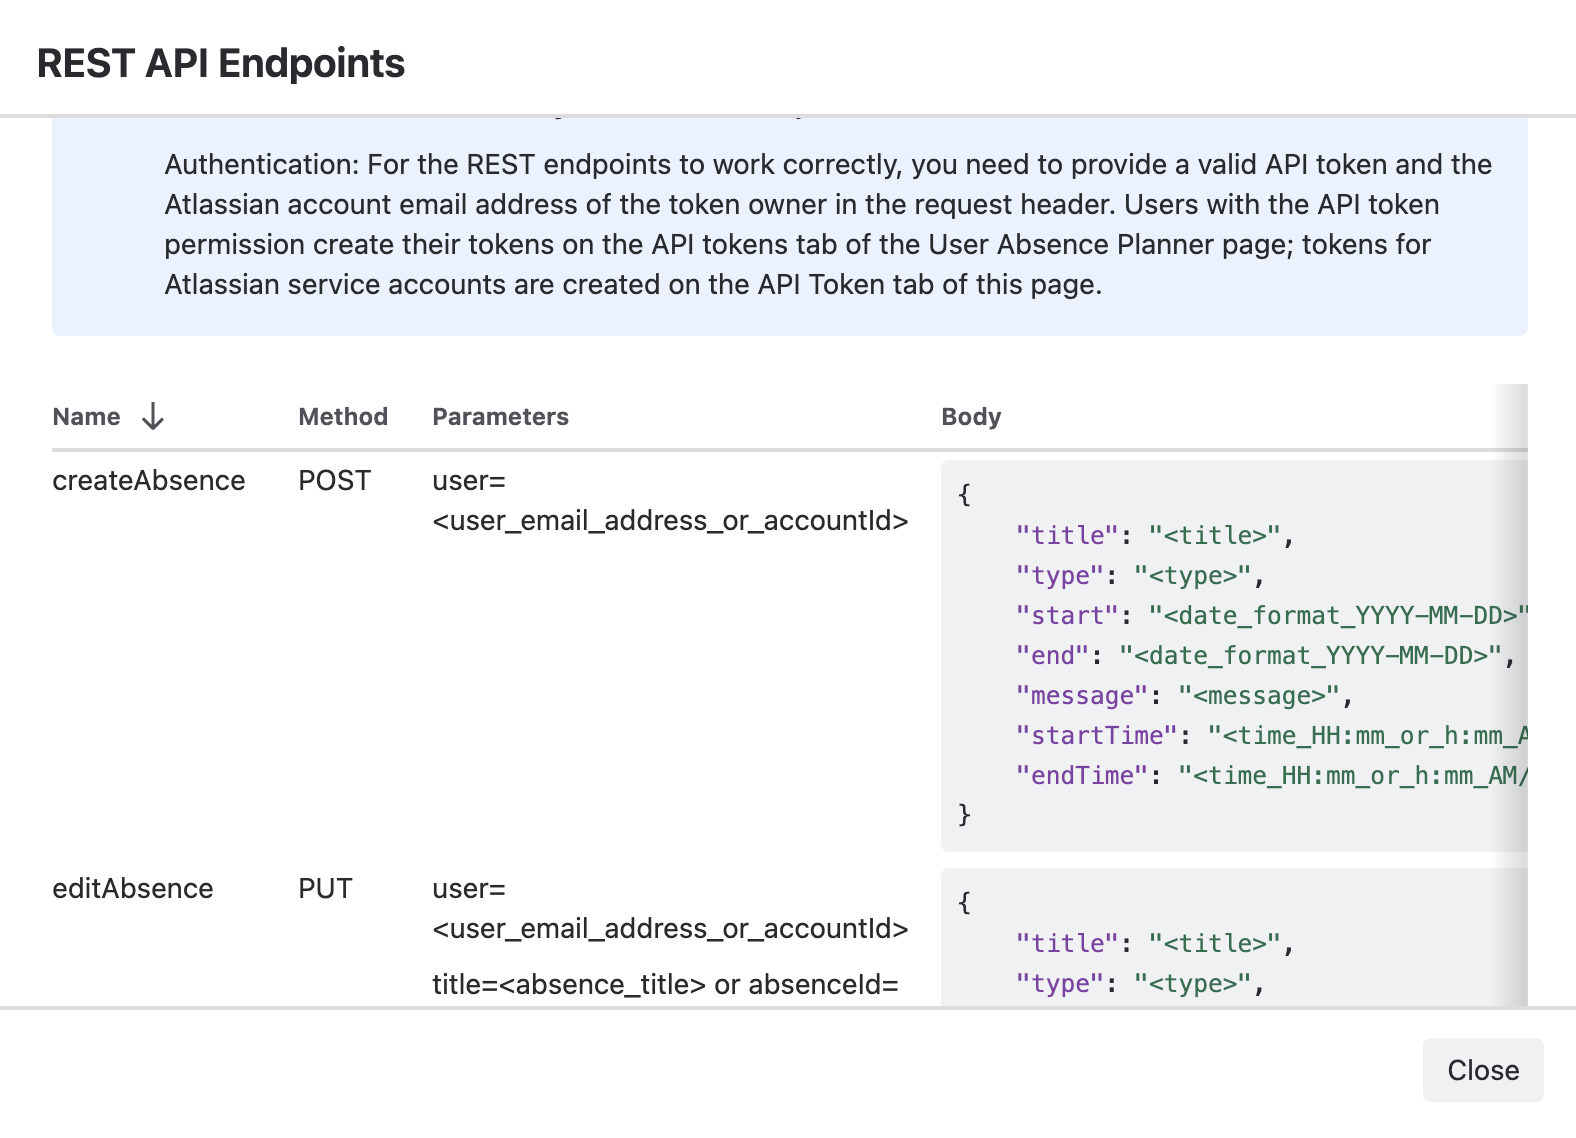
You can get the REST API endpoints from the corresponding button.
Identifying absences with an external ID
Use externalId when you sync absences from another system, such as an Outlook calendar or an HR tool. You give the absence your own unique identifier when you create it. Later updates and deletions can then target that exact absence, without relying on the title, which does not have to be unique.
-
externalIdis optional. Absences created without it, including all absences created before this feature, keep working as before and can still be targeted by title or absence ID. -
It must be unique per user. Two different users can each have an absence with the same
externalId, but one user cannot have two. -
It is a string of up to 255 characters. Surrounding spaces are removed. Matching is exact and case-sensitive.
-
It is only available in the REST API. It is not shown in the app's UI and is not available in the automation actions.
-
When you pass it as a query parameter (Edit and Delete), URL-encode the value. Characters such as
/,+and=, which are common in calendar IDs, must be encoded. -
If a request contains
externalIdtogether withtitle,absenceId,dateorfrom/to, theexternalIddecides which absence is affected.
REST API Endpoints
1. Create Absence
Create a new absence entry for a specific user.
-
Method: POST
-
Parameters:
-
user: The email address or account id of the user you want to create an absence for.
-
-
Body:
JSON{ "title": "<title>", "type": "<type>", "start": "<date_format_YYYY-MM-DD>", "end": "<date_format_YYYY-MM-DD>", "message": "<message>", "startTime": "<time_HH:mm_or_h:mm_AM/PM>", "endTime": "<time_HH:mm_or_h:mm_AM/PM>", "externalId": "<your_unique_id>" }Example:
JSON{ "title": "Summer holidays", "type": "Holiday", "start": "2024-08-03", "end": "2024-08-14", "message": "I am currently out of office with no access to my Jira tasks.", "externalId": "outlook-040000008200E00074C5B7101A82E008" }
title, type, start and end are required. All other fields are optional.
-
Endpoint URL: Unique endpoint for your cloud instance. As system administrator, get it from Marketplace Apps → User Absence Planner Settings → REST API Endpoints tab
Responses: All responses are JSON objects with a message property. The response to a successful request does not contain the absence or its ID. To target the absence later, set an externalId.
|
Status code |
Status text |
Body ( |
Reason |
|---|---|---|---|
|
201 |
|
|
The absence was created. |
|
400 |
|
|
One of the required fields is missing or empty. |
|
400 |
|
|
The request body is not valid JSON. |
|
400 |
|
|
The type does not match a configured absence type. |
|
400 |
|
|
|
|
400 |
|
|
The start date is later than the end date. |
|
400 |
|
|
Invalid time values. |
|
400 |
|
|
|
|
409 |
|
|
The user already has an absence with this |
|
401 |
|
|
Email address or API token is wrong. |
|
403 |
|
|
You may not use the app, or you may not create absences for this user. |
|
404 |
|
|
No user could be found with the provided email address or account ID. |
|
405 |
|
|
A method other than POST was used. |
|
500 |
|
|
The absence could not be saved. |
2. Edit Absence
Edit an existing absence entry for a specific user.
-
Method: PUT
-
Parameters:
-
user: The email address or account id of the user whose absence you want to edit.
-
One of the following identifies the absence:
-
externalId: the external ID you set when the absence was created (recommended)
-
title: the title of the absence. If the user has several absences with this title, the first one is edited.
-
absenceId: the internal absence ID
-
-
-
Body:
JSON{ "title": "<title>", "type": "<type>", "start": "<date_format_YYYY-MM-DD>", "end": "<date_format_YYYY-MM-DD>", "message": "<message>", "startTime": "<time_HH:mm_or_h:mm_AM/PM>", "endTime": "<time_HH:mm_or_h:mm_AM/PM>", "allDay": <true_or_false>, "externalId": "<new_unique_id>" }externalIdin the body changes the absence's external ID. Sendnullor""to remove it. Leave it out to keep the current one.Example:
PUT <endpoint>?user=jane@example.com&externalId=outlook-040000008200E00074C5B7101A82E008JSON{ "end": "2024-08-21", "message": "My holidays have been extended until August 21." }
No required body attributes. Send only the fields you want to change. Fields you leave out keep their current values.
-
Endpoint URL: Unique endpoint for your cloud instance. As system administrator, get it from Marketplace Apps → User Absence Planner Settings → REST API Endpoints tab
Responses: All responses are JSON objects with a message property.
|
Status code |
Status text |
Body ( |
Reason |
|---|---|---|---|
|
200 |
|
|
The absence was updated. |
|
400 |
|
|
None of |
|
400 |
|
|
The request body is not valid JSON. |
|
400 |
|
|
Invalid field values. |
|
400 |
|
|
Invalid time values. |
|
400 |
|
|
The new |
|
409 |
|
|
The new |
|
401 |
|
|
Email address or API token is wrong. |
|
403 |
|
|
You may not use the app, or you may not edit absences for this user. |
|
404 |
|
|
No user could be found with the provided email address or account ID. |
|
404 |
|
|
No absence to edit could be found for the provided identifier. |
|
405 |
|
|
A method other than PUT was used. |
|
500 |
|
|
The absence could not be saved. |
3. Delete Absence
Delete an existing absence entry for a specific user.
-
Method: DELETE
-
Parameters:
-
user: The email address or account id of the user whose absence you want to delete.
-
One of the following is required:
-
externalId: deletes the absence with this external ID (recommended)
-
title: deletes the first absence with this title
-
absenceId: deletes the absence with this internal ID
-
date: deletes all absences planned for this date
-
from and to: deletes all absences planned in this date range
-
-
If
externalIdis provided, only that absence is deleted, even ifdateorfrom/toare also sent.
-
-
Body: None
-
Endpoint URL: Unique endpoint for your cloud instance. As system administrator, get it from Marketplace Apps → User Absence Planner Settings → REST API Endpoints tab
Responses: All responses are JSON objects with a message property. The response to a successful request does not contain the absence ID.
|
Status code |
Status text |
Body ( |
Reason |
|---|---|---|---|
|
200 |
|
|
The absence was deleted. |
|
400 |
|
|
None of the identifying parameters was provided. |
|
400 |
|
|
Invalid |
|
401 |
|
|
Email address or API token is wrong. |
|
403 |
|
|
You may not use the app, or you may not delete absences for this user. |
|
404 |
|
|
No user could be found with the provided email address or account ID. |
|
404 |
|
|
No absence to delete could be found for the provided identifier. |
|
405 |
|
|
A method other than DELETE was used. |
|
500 |
|
|
The absence could not be deleted. |
4. Check Availability
Check availability for a specific user on the current day.
-
Method: GET
-
Parameters:
-
user: The email address or account id of the user you want to edit an absence for.
-
-
Body: None
-
Endpoint URL: Unique endpoint for your cloud instance. As system administrator, get it from Marketplace Apps → User Absence Planner Settings → REST API Endpoints tab