On this page, we describe what you can do on the my absences tab.
Define Absence
On the global page, you can plan your upcoming absences. No matter whether you are away for holidays, a business trip, or a long term leave, you should schedule your absences in advance in Jira to let your team members know that you are out of office.
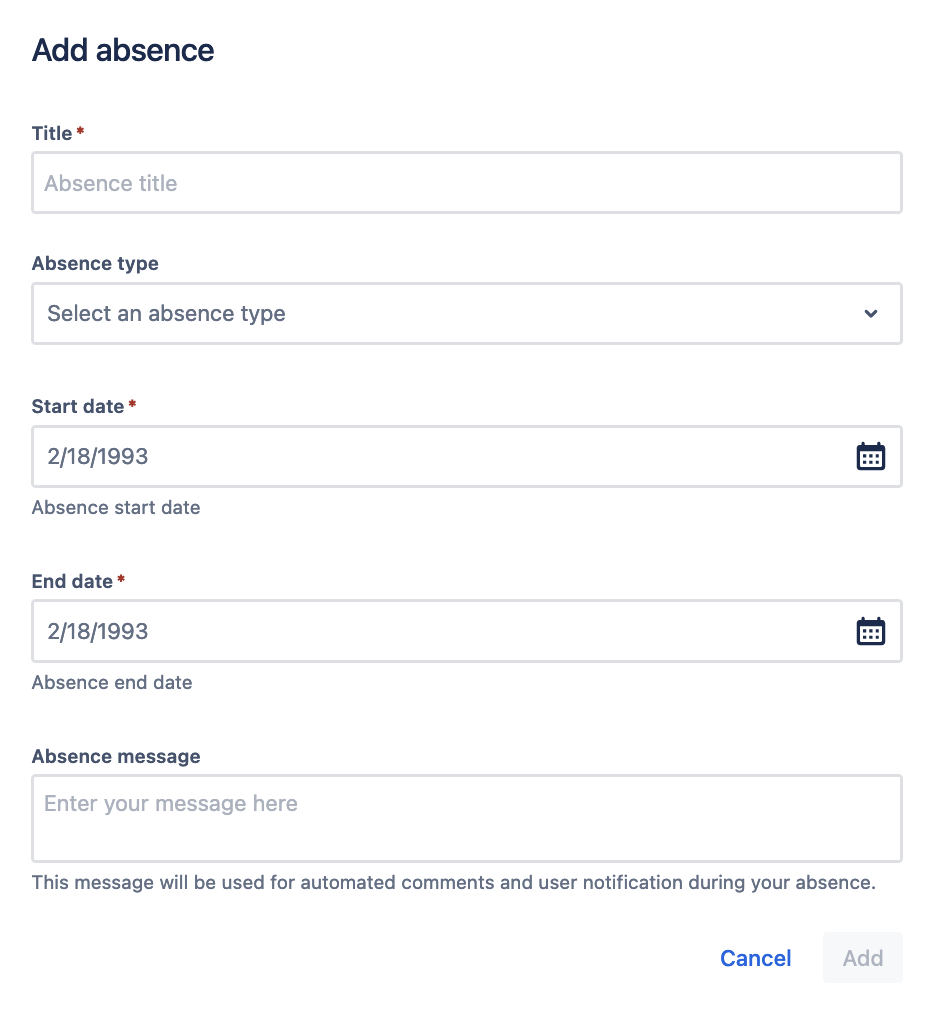
To add a new absence, go to My Absences → Absence list and click on the Add absence button.
On the screen that opens, you can define the absence with the following information:
-
Title for absence
-
Type of absence with default options*:
-
Business trip
-
Training
-
Holiday
-
Sickness
-
Conference
-
Trade fair participation
-
Long term leave
-
Other
-
-
Start date of absence time
-
End date of absence time
-
Message for other users (Absence notice)
* The available absence types might be different in your instance. They can be configured by system admins based on specific needs for your company.
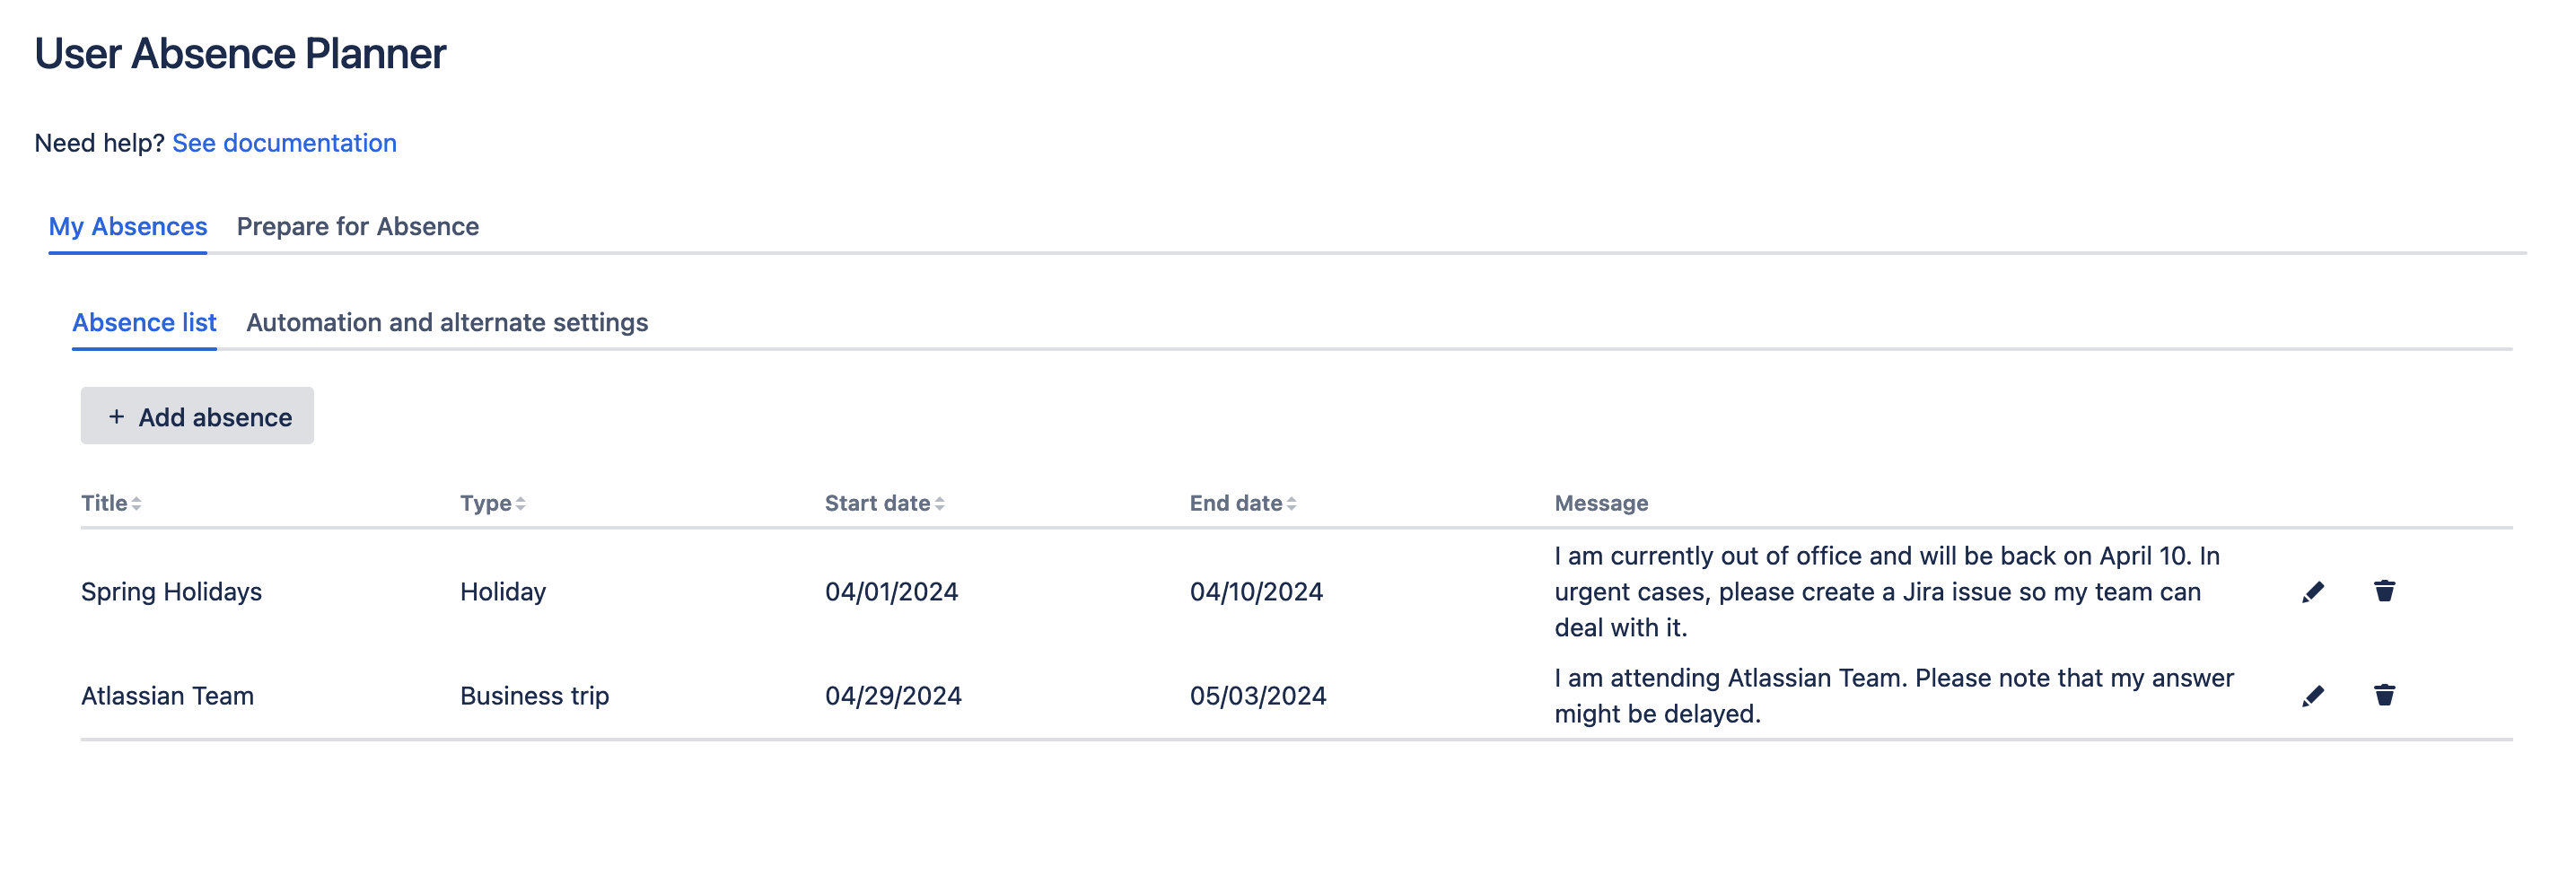
Display and edit absences
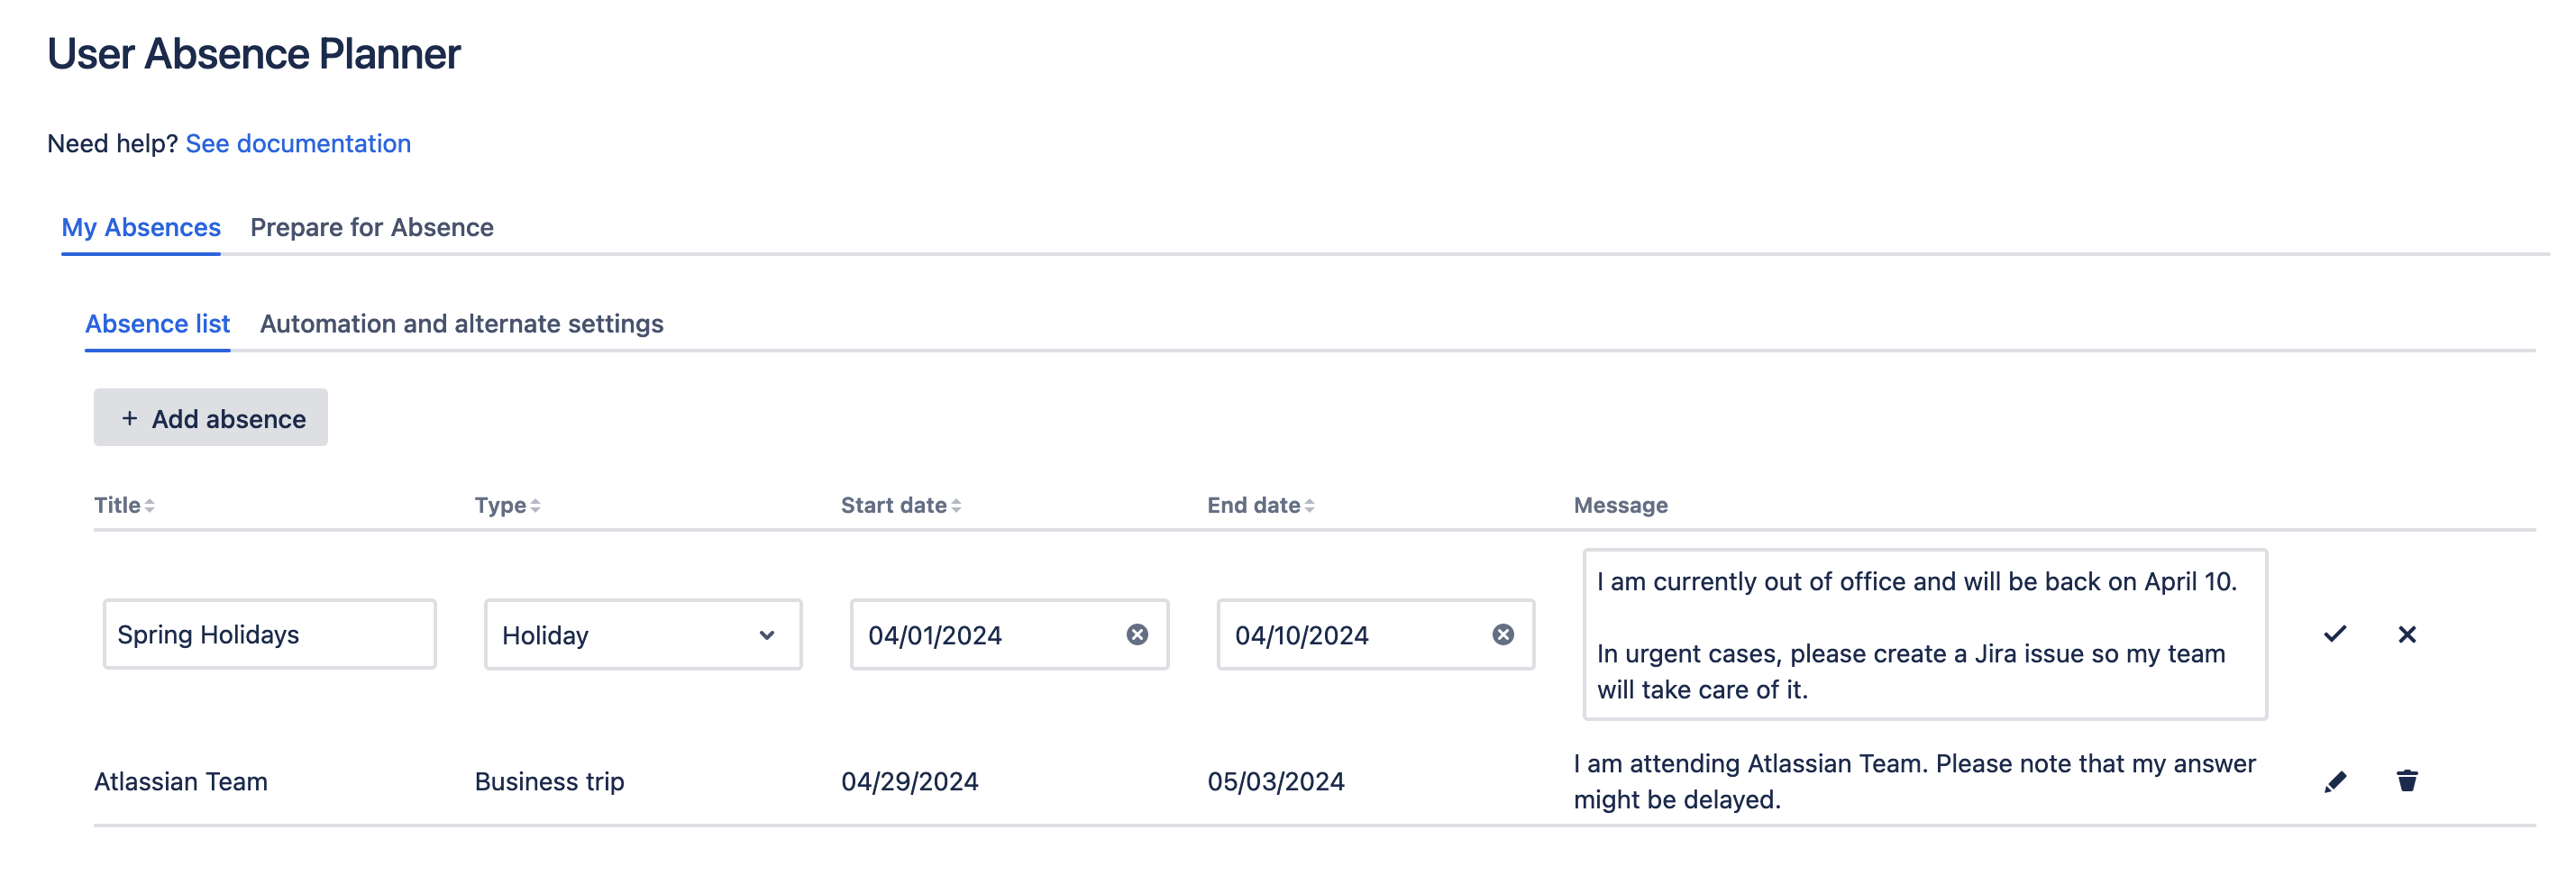
The absence list under my absences shows your defined absences. By clicking on the edit button, you can edit them inline in case something needs to be modified. If you want to delete an entry, just click on the trash icon.
After clicking on the edit icon, the respective row in the list will switch to edit mode, and you can modify the data. If something is changed, a check icon appears to save the changes. By clicking on the close icon, you can discard your changes at any time.
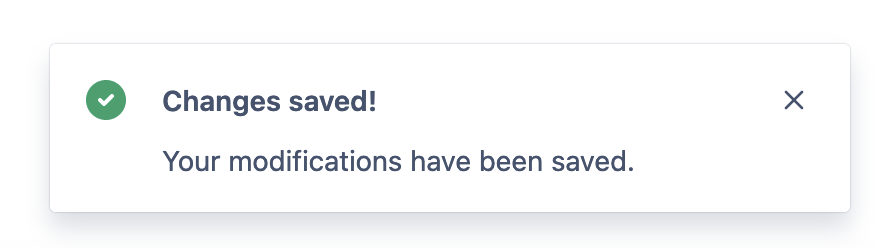
You will get a notification on successful saving when you finished your modifications.
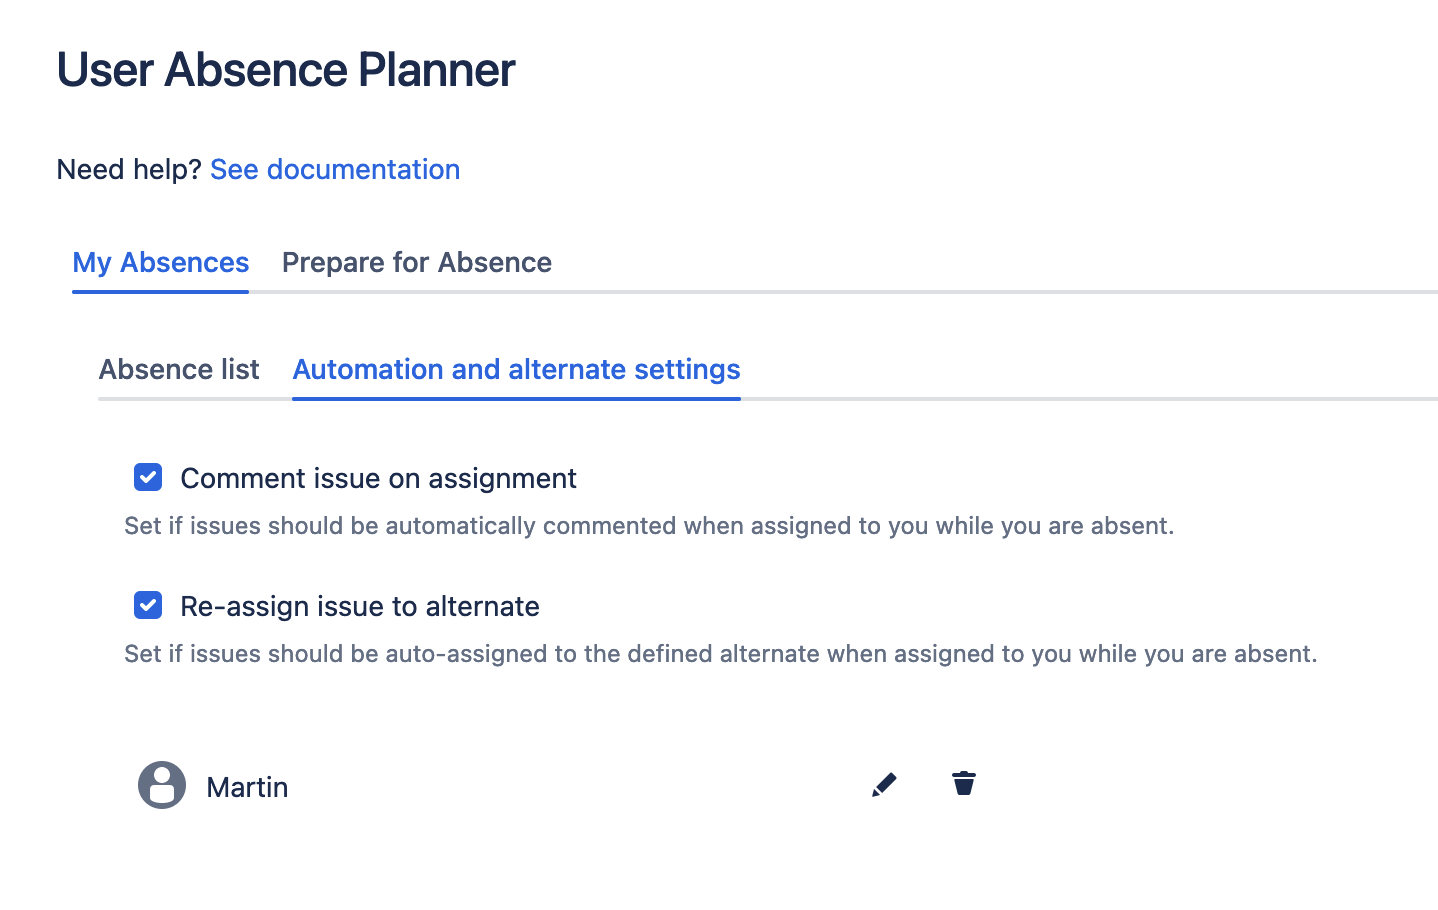
Automation and alternate settings
On the second tab under my absences, you are able to make settings for alternate user and automation for your absences.
-
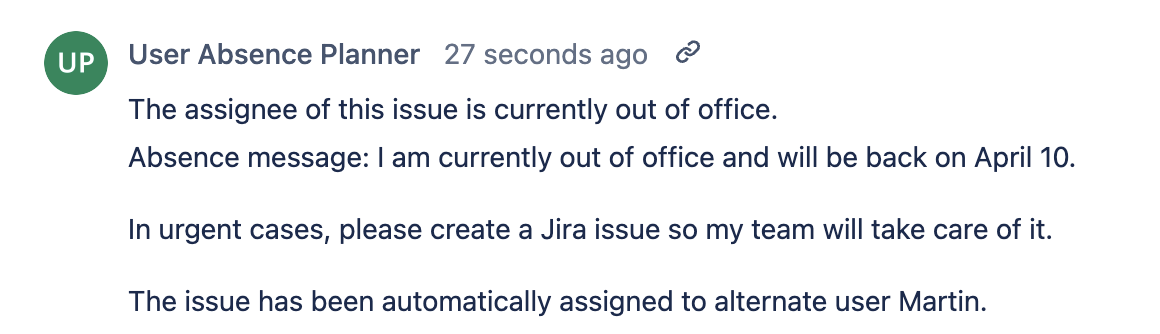
Comment issue on assignment: If you set this option, newly created issues assigned to you will be automatically commented with an out-of-office notification. The same happens for issues which are getting assigned to you. The comment is created by the app and will look like this:
-
Re-assign issue to alternate: If this checkbox is clicked, created issues assigned to you will be automatically assigned to the selected alternate user (see next settings option). The same happens for issues which are getting assigned to you. If no alternate user is selected, the option will be disabled.
-
Alternate user: You can select a user, who will be responsible for your Jira issues (assigned to you) during your absence. If no user is selected, you can search for users in the select field. An existing alternate user can be modified by clicking on the edit icon or removed by clicking on the trash icon.
Please note that alternate users need to have the assignable user permission in all projects you get issues assigned during your absence. Otherwise, the automated assignment by the app won’t work.
Please don’t forget to save your settings via the save button when you change anything here. Otherwise your changes will be lost.